
These southern buttermilk biscuits have been handed down over three generations. Super fast and easy. Nearly fail-proof, the originator calls them perfect in every way.

I’ve been in searching for a biscuit recipe worthy of my Strawberry Grapefruit Marmalade. After trying four different recipes, some that were total flops, I found this one. I love it because it’s simple and can be mixed in the food processor. The originator said this recipe was from her great-great-grandmother, handed down to all the women in her family and she would “put these biscuits up against anyone’s – perfect in every single way”. Well, I just love tradition and when she threw down her gauntlet, I had to try this recipe. My entire family and extended family loved them and you will not be disappointed either. These are gift-giving worthy!
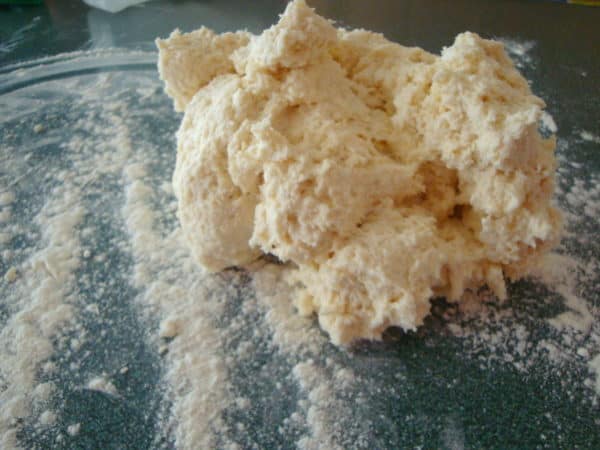
Here are a few photos just to help with the process. This one shows how wet your dough should be after processing.
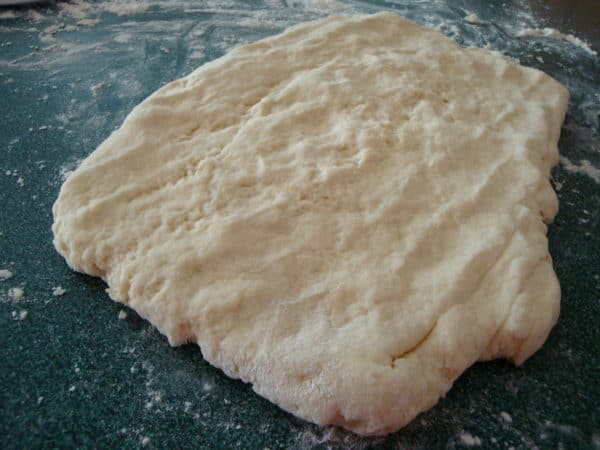
After patting and folding just before I cut the biscuits. Tip: You might want to dip your fingers in flour to help with the patting and folding.
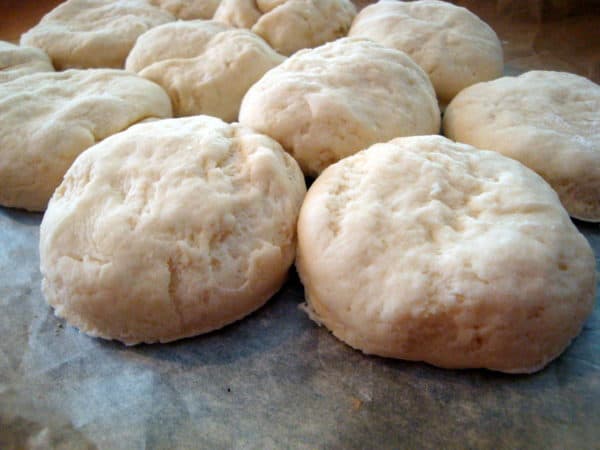
Ready for the oven!
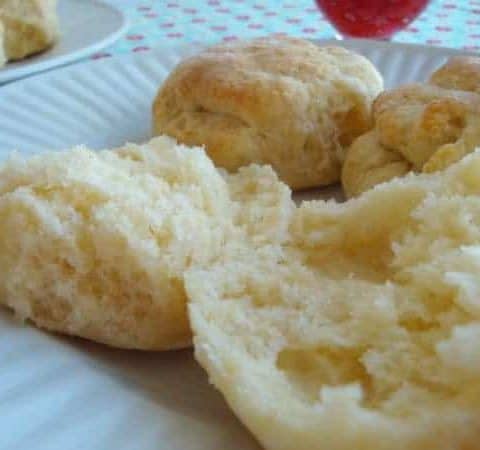
These come together quickly and are worthy of any homemade jam or just as they are.
Southern Buttermilk Biscuits
Ingredients
- 3 cups unbleached all-purpose flour, plus more for dusting the board
- ½ teaspoon baking soda
- 2 Tablespoon baking powder, use one without aluminum
- 1 teaspoon kosher salt or 1 teaspoon salt
- 9 Tablespoons unsalted butter, very cold
- 1 ½ cups buttermilk, approx
Instructions
- Preheat your oven to 450°F.
- Combine 3 cups flour, ½ teaspoon soda, 2 Tablespoons powder, and 1 teaspoon salt in a bowl, or in the bowl of a food processor.
- Cut 9 Tablespoons butter into chunks and cut into the flour until it resembles course meal.
- If using a food processor, pulse a few times until this consistency is achieved.
- Add 1 ½ cups buttermilk and mix JUST until combined.
- If it appears on the dry side, add a bit more buttermilk. It should be very wet.
- Turn the dough out onto a well-floured board.
- Dip your fingers in flour to help keep the dough from sticking to you. Gently, gently PAT (do NOT roll with a rolling pin) the dough out until it's about ½" thick. Fold the dough about 5 times, gently press the dough down to a 1 inch thick.
- Use a round cutter to cut into rounds. Do not twist cutter as you push down. This compromises the dough to it doesn't rise up as high.
- You can gently knead the scraps together and make a few more.
- Place the biscuits on a cookie sheet- if you like soft sides, place them touching each other. If you like"crusty" sides, place them about 1 inch apart- these will not rise as high as the biscuits put close together.
- Bake for about8-10 minutes- the biscuits will be a beautiful light golden brown on top and bottom.
- Do not overbake.
Note:
- The key to real biscuits is not in the ingredients, but in the handling of the dough.
- The dough must be handled as little as possible or you will have tough biscuits.
- A food processor produces superior biscuits, because the ingredients stay colder and there's less chance of overmixing.
- You also must pat the dough out with your hands, lightly.
- Rolling with a rolling pin is a guaranteed way to overstimulate the gluten, resulting in a tougher biscuit.
Note 2:
- You can make these biscuits, cut them, put them on cookie sheets and freeze them for up to a month.
- When you want fresh biscuits, simply place them frozen on the cookie sheet and bake at 450°F for about 15-18 minutes.


Yummy! I’m permanently replacing my recipe that always worked but didn’t have the fluffiness these do. Great recipe!
Thanks, Jessie! Wow, I’m honored that you’re replacing a well loved recipe for mine!
Sally, I just need to tell you how much we love these biscuits! They are SO easy to make and my family LOVES them. They’re absolutely delicious!
Hi Daisy, thank you for this nice comment! I’m so glad you all like them so much.
So easy. SO PERFECT. Thank you for sharing the recipe Sally they were fantastic!
I’ve been trying to make fluffy biscuits for years now and mine never even closely resemble your lovely pictures but THIS recipe made fluffy biscuits and I’m SO HAPPY!! The recipe was easy to follow and the biscuits were delicious. Now I’m looking for meals that will go with biscuits 🙂
WINNING recipe! I have never been able to make biscuits…until now. Love these and Love that you don’t need to use lard for them to turn out this great and yummy!
Holy Cow! Best biscuits I’ve had in twenty years. If you love authentic southern style biscuits, these are it!!
I’ve been trying to make homemade southern buttermilk biscuits for years and they never turn out well, no matter what recipe I try. These turned out PERFECTLY! My husband and I devoured them! Thanks so much for sharing Sally, they are delicious!
These are ABSOLUTELY, HANDS DOWN THE BEST biscuits EVER! I have searched and searched for a decent biscuit recipe because my son has celiac and biscuits and gravy is his favorite breakfast. I use Bob Mills gluten free all purpose baking flour in lieu of regular flour, 1to1, and add 1/8 teaspoon extra xanthum gum (1/2 teaspoon if using a gluten free flour that DOES NOT already contain xantham gum). I have made this a couple of times now and you are SO RIGHT!….the handling of the dough is CRUCIAL! I take a cheese grater to grate my super cold butter and mix it in gingerly but thoroughly before adding the milk. I am then very careful to JUST mix it, then turn it out to gently pat into a one inch thick mass just as you instruct, cut with the too of some mason jar glasses, (avoiding any twist motion) nest them in my cast iron skillet, into the oven and BOOM…..gluten free heaven in 8 minutes…thank you!
Julie, thanks so much for your great comment AND for offering the solution to convert these biscuits to gluten-free! I’m going to try them this way on the weekend and will also add your adaptation to the recipe for others to utilize. Have a great weekend and thanks again!
OHhh, these look so moist! I cannot handle dry biscuits. Will definitely try!
Amanda, let me know what you think! 😉
If I don’t have a food processor, can I use a blender or stand mixer?
Your stand mixer should work great! The dough is too thick for a blender. 🙂